
Choosing which fields appear on your booking form
Turn steps and fields on or off per device — visibility and required, not custom fields.
Your booking form is built from a fixed set of steps and fields. You control which ones show and which are required — separately for desktop and mobile.
You cannot add custom fields or reorder them. There is no "Add field" button, no field-type picker, and no drag-to-reorder. The form's fields are a fixed list; what you control is each field's Visible and Required toggles. If a guide told you to add your own fields, that feature does not exist.
Edit a form under Settings > Booking Forms, then open it and find the Form Fields section.
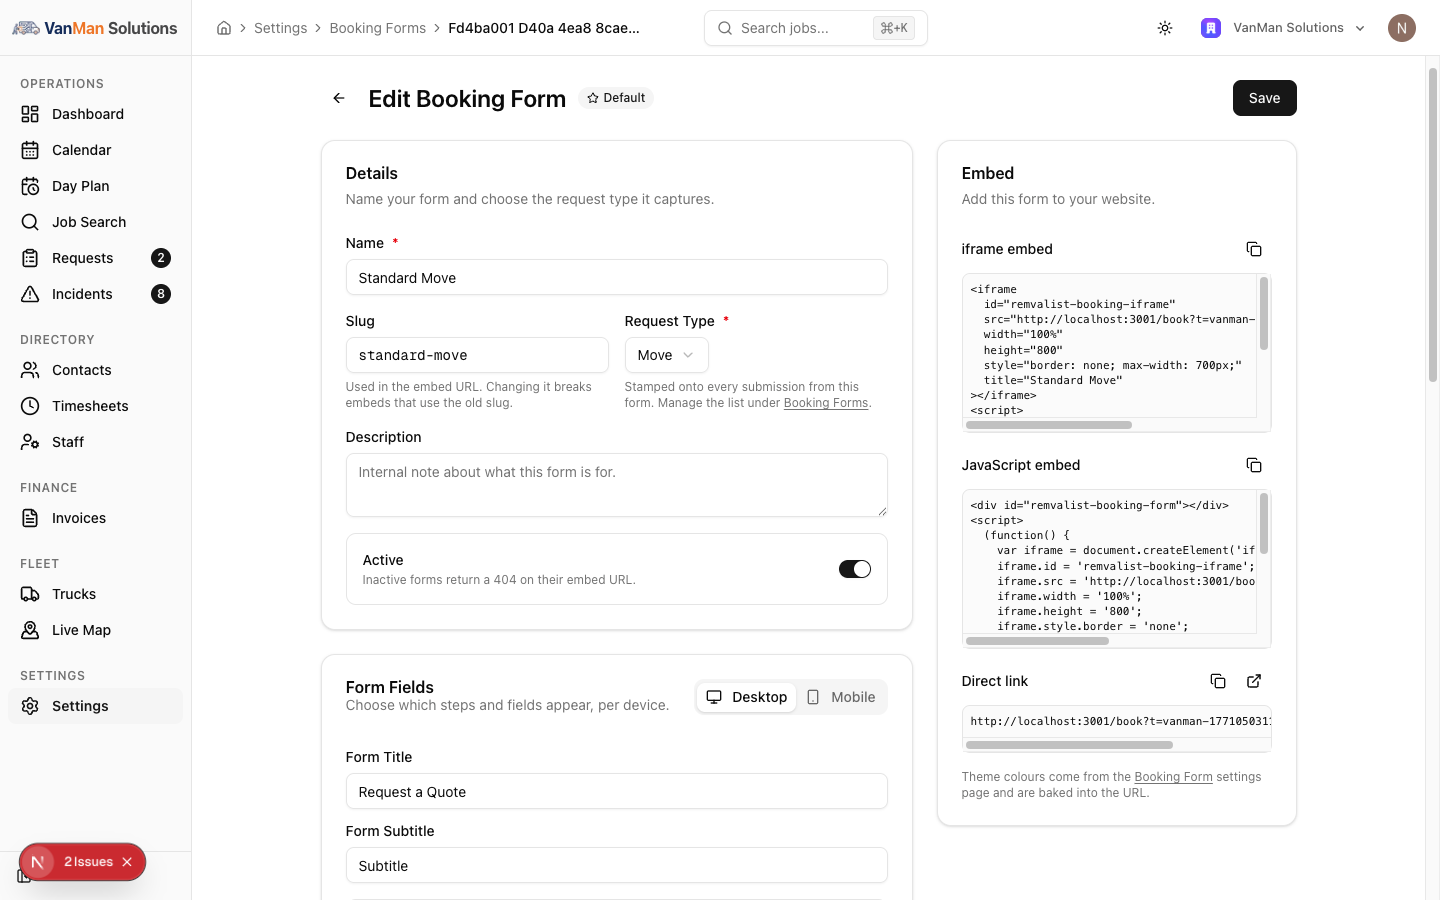
Per device
The Desktop and Mobile tabs are independent. You can run a lean form on phones and a fuller one on desktop from the same form, and there is a Copy from Desktop button on the Mobile tab to start from your desktop config.
The steps and fields
Each step expands to a Field / Visible / Required grid:
- Step 1: Your Details — First Name and Last Name (both locked on), Email, Phone, Organisation, Contact Preference.
- Step 2: Move Details — Preferred Date, Preferred Time, Flexible Date, what they're moving, Item List, Packing Status, Dismantling, Preparation Notes, and the settlement / keys / storage questions.
- Step 3: Locations — pickup and drop-off address, unit, floor, access, notes, on-site contacts, and additional stops.
- Step 4: Additional Info — particular-care items, general notes, file attachments.
Only First Name and Last Name are locked on — everything else, including email, phone, and the addresses, can be toggled off. So the only fields you can never remove are the two names.
Form behaviour
Above the fields: Form Title, Form Subtitle, Use wizard steps (off = one scrollable page instead of a multi-step wizard), and Show review step (off hides the summary; bot protection stays on either way).
Tutorial: build a short mobile form and a full desktop one
Most of your traffic is on phones, but you want detail from desktop visitors.
Settings > Booking Forms → open your form → Form Fields. You are on the Desktop tab by default.
On Desktop, expand each step and set Visible and Required as you want them. Turn on the fields that help you quote — item list, access details, preferred date. This is your thorough form.
Remember you are toggling a fixed list, not adding fields. If the field you want is not there, it is not addable.
Click the Mobile tab, then Copy from Desktop to start from what you just built. Now trim it — a phone form should be short.
On mobile, switch off the fields that make a phone form a chore: long item lists, optional preparation notes. Keep First and Last Name (they are locked anyway), contact details, and the two addresses. You are after a lead here, not a full brief.
A field can be Visible but not Required — shown, but optional. Use that for anything nice-to-have: ask for it, but do not block submission on it. Only make truly essential fields Required.
For a short mobile form, turn Use wizard steps off so it is one scrollable page rather than a multi-step wizard. Fewer taps on a phone.
Click Save. Then open the form on a phone and on a desktop — they should genuinely differ, because the two tabs are independent. If they look identical, you edited one tab and not the other.