
Connecting your Xero account
Connect VanMan to Xero, and set up the account codes that make invoices post correctly.
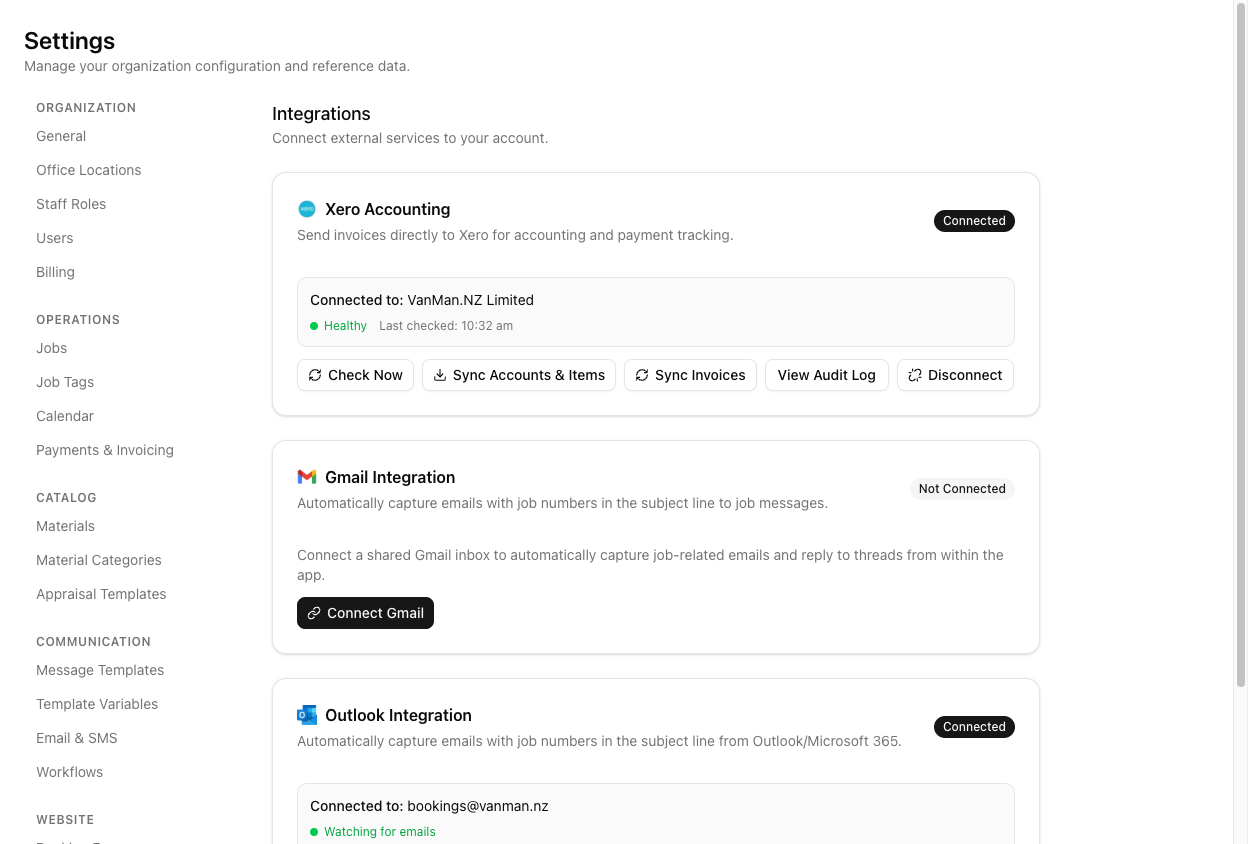
Xero lives on the Xero Accounting card at Settings > Integrations, alongside Gmail and Outlook.
You need Xero administrator access to authorise the connection, and a VanMan role that can edit settings — Operators cannot connect or disconnect integrations.
Connect
On the Xero card, click Connect to Xero. You are handed to Xero to sign in and approve access.
If your Xero login covers more than one organisation, VanMan asks which one to use. It connects to a single Xero organisation at a time.
On connecting, VanMan automatically pulls in your Xero chart of accounts and items. You can re-run this any time with Sync Accounts & Items on the card.
There is no "set your default revenue account" screen after you connect. VanMan does not ask you for a default account or tax rate. If you have been looking for that step, it does not exist — account codes are set on your catalog instead. That is the next section, and it is the part people miss.
Set your account codes
Account codes are set on your materials, at two levels:
- Material Categories — each category (Service, Travel, Materials, and so on) has an Invoice Account Code. Set it under Settings > Material Categories.
- Materials — an individual material can carry its own Invoice Account Code and Invoice Item Code, under the Advanced section of the material. Set at Settings > Materials.
These fields hide under an Advanced disclosure, which is exactly why they get overlooked. Without them, Xero rejects the invoice or posts it to a default account.
What the connected card gives you
- Check Now — re-tests the connection.
- Sync Accounts & Items — refreshes your chart of accounts and items.
- Sync Invoices — pulls invoice status back from Xero (so payments recorded there show against your jobs).
- View Audit Log — every sync action and its result.
- Disconnect — with a confirmation.
Tutorial: connect and get the account codes right
The connection is the easy part. The codes are what make it work.
Settings > Integrations → Connect to Xero on the Xero card. Sign in, approve, pick your organisation. The card now reads Connected to: your org.
Click Sync Accounts & Items. This has to happen before the code fields have anything to offer.
Go to Settings > Material Categories. Edit Service — the category carrying your crew-and-truck hourly rate, and therefore most of your revenue — and set its Invoice Account Code to your sales account (commonly 200).
Do Travel and Materials too. This is the step that decides which account each invoice line lands in. Skip it and Xero decides for you.
Most materials inherit fine from their category. For any that need a different account or a specific Xero item, open the material at Settings > Materials, expand Advanced, and set Invoice Account Code / Invoice Item Code there.
Raise an invoice on a real job and send it to Xero. Then open Xero and check each line hit the account you coded. If a line is on the wrong account, the fix is in Material Categories — not in the invoice.
The card's health goes quietly stale rather than loud. If invoices stop syncing, click Check Now — an expired Xero authorisation shows there first.